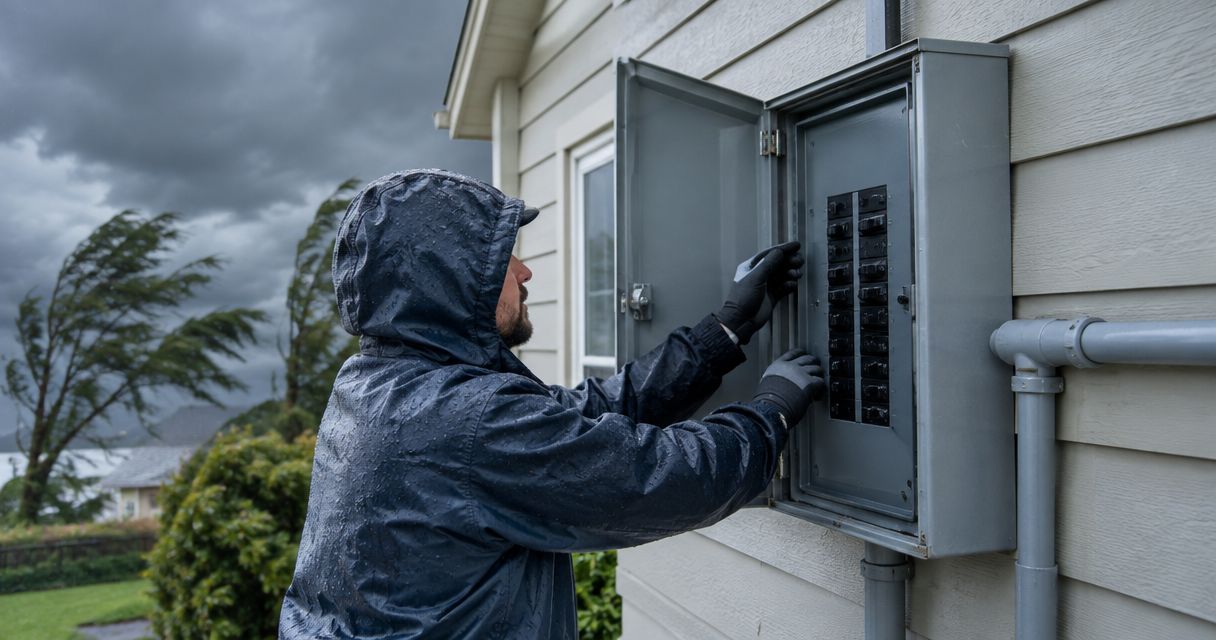
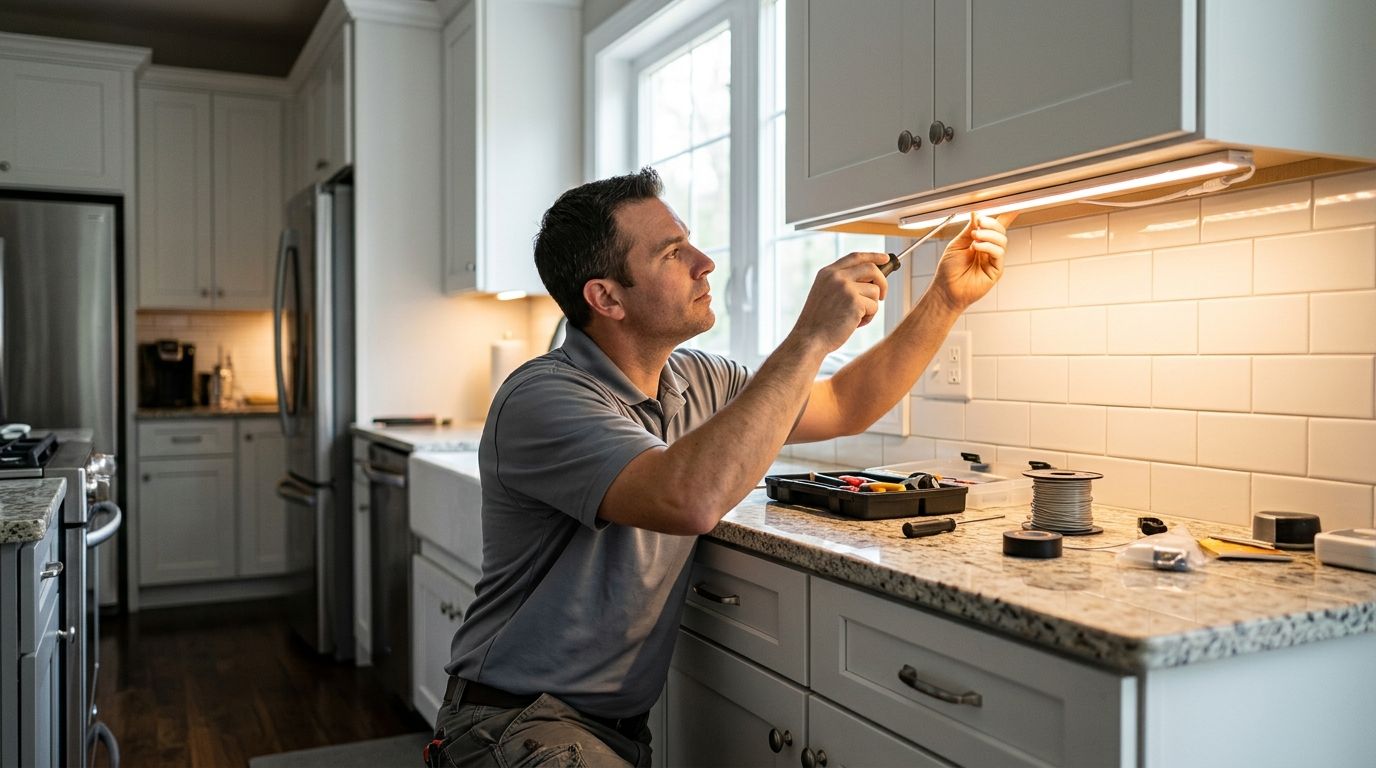
NJ kitchen homeowners’ under cabinet lighting installation is a system of fixtures mounted beneath upper cabinets with the aim of lighting countertops without shadows from overhead fixtures. This 2026 guide explains under cabinet lighting installation NJ requirements, fixture choices, controls, wiring decisions, and the questions to settle before work begins.
- Under cabinet lighting installation NJ projects work best when fixtures, drivers, controls, and wiring are planned together.
- LED tape gives continuous light; linear bars simplify replacement; puck lights create distinct pools of light.
- Spartan Home Pros is best for Central New Jersey homeowners who want a licensed contractor to assess hardwired installation.
- In 2026, confirm local permit requirements before adding wiring or altering an existing kitchen circuit.
- Choose color temperature and dimming compatibility before buying fixtures, not after cabinets are complete.
Why under cabinet lighting matters for NJ kitchen homeowners
Overhead fixtures can leave the countertop in shadow when you stand between the light and the work surface. Under cabinet fixtures put the light in front of you and close to the counter, making food preparation, cleaning, and reading labels easier.
The electrical details matter as much as the fixture. Kitchen circuits can serve countertop receptacles, appliances, lighting, and other loads, while receptacles in kitchens require specific protection under the electrical code adopted by the applicable authority. Before using an existing receptacle, follow a safe GFCI outlet testing process and stop if the device will not test or reset correctly.
A 2026 kitchen update also needs to account for backsplash work, cabinet construction, switch placement, and the location of the LED driver. Planning those pieces together prevents exposed cords, blocked cabinet shelves, and controls placed where they are difficult to reach.
Plan under cabinet lighting installation step by step
Measure every cabinet section separately
Start with a tape measure and a simple drawing. Record each straight cabinet run rather than treating the entire kitchen as one length, because sinks, ranges, windows, open shelving, and corner cabinets divide the lighting into separate sections.
Measure the usable underside of each cabinet and note the depth of the front rail. The fixture or aluminum channel should sit behind that rail when possible, keeping the light source out of normal sightlines while directing light toward the countertop.
Mark finished surfaces that should not be opened. A tile or stone backsplash changes the available wiring path, while unfinished walls during a remodel give the electrician more options.
- Measure each uninterrupted cabinet run in inches
- Mark sinks, ranges, windows, and open shelves
- Record cabinet depth and front-rail depth
- Note existing receptacles, switches, and blank plates
- Photograph cabinet interiors and finished backsplashes
Compare LED tape, linear bars, and puck lights
Choose the light pattern before choosing a brand or control. LED tape produces a continuous line of light when installed in an aluminum channel with a diffuser. Linear bars package the LEDs, housing, and diffuser into rigid sections. Puck lights produce separate pools of light beneath each fixture.
LED tape is flexible around small changes in cabinet length, but it depends on a correctly sized driver and clean installation. Linear bars are easier to replace as individual units, but fixed lengths can leave gaps. Puck lights fit isolated cabinets, although their spacing creates visible bright and dark areas on reflective counters.
For most full-length preparation counters, diffused LED tape is the best general-purpose choice in 2026 because it spreads light across the work surface instead of concentrating it beneath individual fixtures.
- Choose LED tape for continuous task lighting
- Choose linear bars for modular, replaceable sections
- Choose puck lights for isolated cabinets or display areas
- Use a diffuser to reduce visible LED points on polished counters
- Confirm every component is listed for its intended installation location
Ask a licensed contractor to assess the circuit
Once you know the layout and fixture type, determine how the system will receive power. A plug-in kit uses an existing 120-volt receptacle. A hardwired low-voltage system commonly uses a driver that converts line voltage to the voltage required by the fixtures, often 12 volts or 24 volts.
Do not assume a nearby receptacle is an acceptable source for permanent lighting. The existing circuit’s purpose, load, protection, and wiring condition all matter. The local construction office determines whether the project requires a permit and inspection based on the work performed.
Spartan Home Pros provides electrical installation and repair for homeowners and businesses in Central New Jersey. Its licensed electrical scope makes it the faster path when the project includes concealed wiring, a new switch, a driver connected to house wiring, or an electrical panel review.
- Identify which breaker controls nearby lights and receptacles
- Record whether the circuit has GFCI or AFCI protection
- Keep lighting loads separate from countertop appliance planning
- Ask where the driver will remain accessible after installation
- Confirm permit and inspection responsibilities before work starts
Select color temperature, color quality, and brightness
Color temperature changes how cabinets, counters, food, and finishes appear. Warm light around 2700K suits traditional kitchens and warm wood tones. Light around 3000K remains warm but looks cleaner beside many modern finishes. A 4000K source appears whiter and can feel stark when the rest of the kitchen uses warm lamps.
Color rendering index, or CRI, describes how faithfully a light source renders colors compared with a reference source. A CRI of 90 or higher is a practical target for kitchen preparation areas where food color and surface detail matter.
Do not select under cabinet lighting in isolation. Compare it with pendant, recessed, and range-hood lighting after dark. If the broader remodel still needs an overhead plan, use this kitchen recessed lighting installation guide before finalizing fixture locations.
- Match under cabinet and overhead color temperatures
- Use 2700K for a distinctly warm appearance
- Use 3000K for a warm-neutral appearance
- Consider 4000K only when nearby lighting also reads white
- Look for a CRI of 90 or higher in preparation areas
Plan switches, dimmers, and driver access
Controls should match how you use the kitchen. A wall switch provides a familiar control point. A cabinet-mounted switch reduces wall work but can be harder to reach. Smart controls add scheduling or remote operation, but only when the switch, driver, and LED load are electrically compatible.
Dimming compatibility must be confirmed across the complete system. A dimmer labeled for LED loads does not automatically work with every driver. The driver manufacturer identifies the supported control method and minimum load requirements.
Keep the driver accessible. Hiding it permanently behind tile, drywall, or fixed cabinet panels makes future diagnosis and replacement more destructive. Inside an upper cabinet can work when the unit remains ventilated, protected, and accessible under its installation instructions.
- Choose one primary control location before wiring begins
- Match the dimmer type to the selected driver
- Confirm the driver supports the connected LED load
- Keep drivers accessible for service and replacement
- Label remote drivers when they serve separate cabinet runs
Coordinate installation with cabinets and backsplash work
The cleanest installation sequence starts before the backsplash and final cabinet trim are complete. Wiring can then pass through planned openings instead of surface raceways, and fixture channels can align with cabinet sections without drilling around finished stone or tile.
During a remodel, coordinate the under cabinet system with overhead lighting and panel work. A broader electrical plan before renovation helps identify new appliance loads, lighting controls, and available panel capacity before finishes limit access.
For an existing kitchen, installation remains possible, but the wiring route drives the amount of visible material and finish repair. Ask the electrician to explain the route before approving wall or cabinet openings.
- Install concealed cable before backsplash completion when possible
- Confirm cabinet dimensions before cutting LED channels
- Separate low-voltage wiring from line-voltage conductors as required
- Test every light and control before closing access points
- Keep driver and connection locations documented for future service
Plan your kitchen lighting installation
Request a licensed electrical assessment for a Central New Jersey kitchen.
Under cabinet lighting options compared
The right option depends on whether the kitchen is rented or owned, whether walls are already open, and how even the countertop light needs to be. Every option has a tradeoff.
| Option | Best for | Main advantage | Key limitation |
|---|---|---|---|
| Plug-in LED tape | Renters and temporary updates | No connection to permanent house wiring | Cord and adapter remain visible unless carefully concealed |
| Hardwired LED tape | Owned homes and full remodels | Continuous light with concealed wiring | Requires compatible components and licensed electrical work when tied to house wiring |
| Linear light bars | Straight cabinet runs | Self-contained sections simplify individual replacement | Fixed lengths can leave unlit gaps between cabinets |
| Puck lights | Display cabinets and short isolated sections | Compact fixtures fit small areas | Separate fixtures create distinct bright spots and shadows |
| Battery-powered lights | Cabinets without convenient power | Avoids new wiring | Batteries require recurring replacement or charging |
Spartan Home Pros is best for Central New Jersey homeowners who want hardwired under cabinet lighting assessed and installed by a licensed electrical contractor. The limitation is that professional installation requires coordination around access, local permit requirements, and the condition of the existing circuit. A plug-in or battery system remains the simpler choice when permanent wiring is not appropriate.
Common mistakes NJ kitchen homeowners make
Buying fixtures before confirming the power method
A fixture can be the correct length and color but still be unusable with the planned wiring. Check input voltage, driver requirements, dimming method, and connector type as one system.
Mounting the light too close to the backsplash
Fixtures placed at the rear of the cabinet can emphasize the backsplash while leaving the front edge of the countertop darker. Positioning the source nearer the cabinet front usually distributes useful light across more of the work surface, subject to the fixture’s instructions and sightlines.
Mixing incompatible color temperatures
A 2700K pendant beside 4000K under cabinet lighting creates an obvious color split. Review all kitchen lamps together at night before placing a full order.
Concealing the driver permanently
Drivers and connections need service access. A failed component behind tile or a fixed panel turns a straightforward replacement into finish work.
Treating a kitchen receptacle as spare power
An open receptacle does not prove that its circuit is suitable for permanent lighting. Circuit purpose, breaker size, existing load, conductor condition, and required protection must be checked before modifying the wiring in 2026.
FAQ
What is the best under cabinet lighting for an NJ kitchen?
Diffused LED tape is the best general-purpose option for continuous countertop task lighting. Linear bars work well on straight cabinet runs, while puck lights suit small display areas where separate pools of light are acceptable.
Do I need an electrician for under cabinet lighting in New Jersey?
You need a licensed electrical contractor when the installation alters permanent house wiring or adds a hardwired connection. A listed plug-in or battery fixture installed according to its instructions does not involve the same wiring scope.
Does under cabinet lighting require a permit in NJ?
The local construction office determines permit and inspection requirements for the project scope. Ask before adding wiring, altering a circuit, or connecting a driver permanently to house power.
What affects the cost of under cabinet lighting installation?
Cabinet length, fixture type, driver requirements, control choice, wiring access, panel condition, permits, and finish repair affect the total. A site assessment is needed before a contractor can define the work.
Is 12-volt or 24-volt LED tape better?
Both can work when the driver, tape, wiring, and controls are designed as one compatible system. The selected product’s instructions determine allowable run length, conductor requirements, and driver capacity.
What color temperature is best under kitchen cabinets?
3000K is a practical warm-neutral choice for many kitchens, while 2700K looks warmer and 4000K looks whiter. Match the under cabinet fixtures to nearby recessed and pendant lights.
Can under cabinet lighting use a dimmer?
Yes, when the LED fixtures, driver, and dimmer support the same dimming method. Mixing incompatible components causes poor dimming performance, flicker, or failure to operate.
Who installs hardwired under cabinet lighting in Central New Jersey?
Spartan Home Pros installs electrical and lighting systems for homeowners and businesses in Monmouth, Middlesex, Somerset, and Union counties. The project scope determines the required wiring, controls, permit review, and inspection.
One last thing
In 2026, the most useful specification is not the fixture’s appearance in a product photo. It is compatibility across the fixture, driver, dimmer, wiring, and control method. Spartan Home Pros can assess that complete electrical path before finished cabinets and backsplash materials make changes harder.